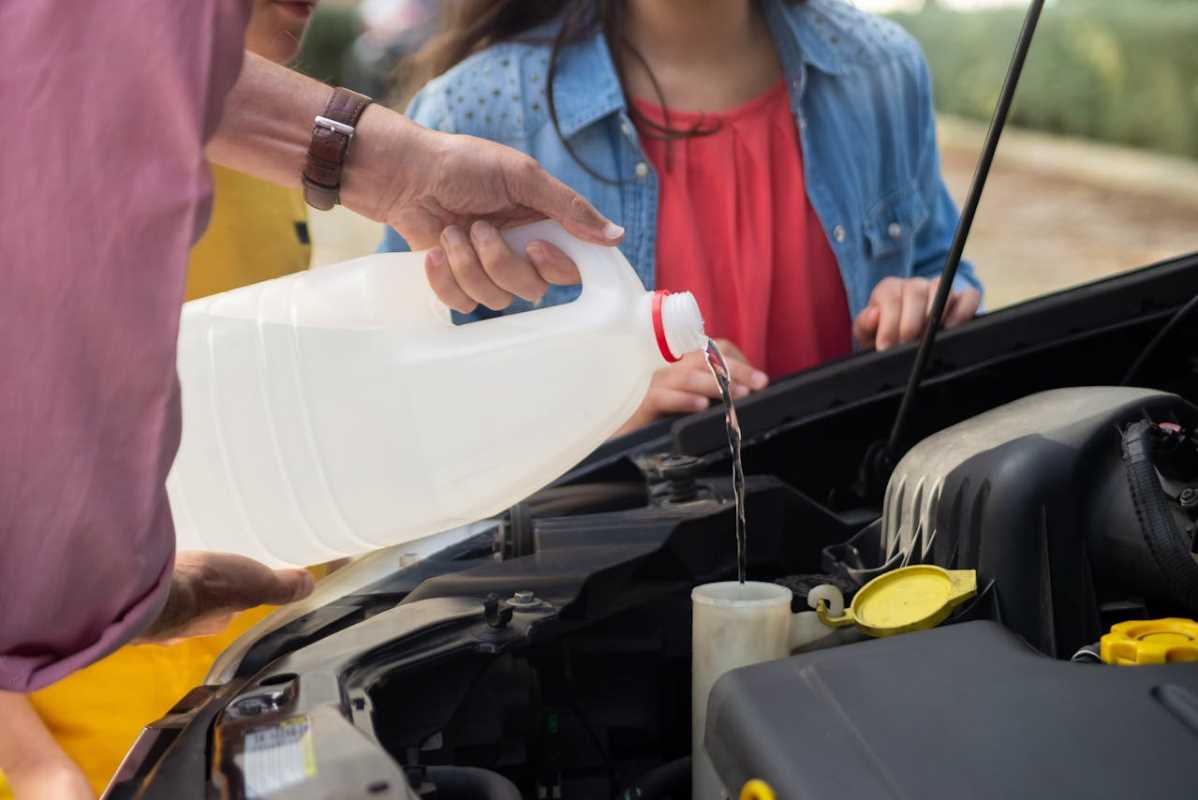
 (Image via
Watching your fuel gauge drop can feel like watching your money disappear, especially with fluctuating gas prices. Many drivers search for ways to squeeze more miles out of every gallon, trying everything from complex driving techniques to expensive fuel additives. The truth is, one of the most effective ways to boost your fuel efficiency is surprisingly simple and costs very little. You have the power to make a real difference in your gas mileage with one basic maintenance check. This guide is here to show you exactly what it is. We will walk you through this easy fix, explain why it works, and help you start saving money on every trip you take.
The Overlooked Secret to Fuel Efficiency
The single most impactful fix for improving your gas mileage is something many drivers forget about: maintaining proper tire pressure. It might not sound as exciting as a high-tech engine upgrade, but its effect on your fuel consumption is significant and immediate. Your tires are the connection between your car and the road, and their condition directly influences how much energy it takes to move your vehicle forward.
Think of it like riding a bicycle. Pedaling a bike with properly inflated tires feels almost effortless. Now, imagine trying to pedal that same bike with flat or low tires. You have to work much harder to go the same distance. The same principle applies to your car.
When your tires are underinflated, their contact patch—the part of the tire that touches the road—increases in size. This creates more friction and rolling resistance. Your engine must work harder and burn more fuel just to overcome this extra drag. Keeping your tires inflated to the correct pressure is a simple, effective way to reduce that workload and, in turn, use less gas.
The Numbers Don't Lie: The Impact of Low Tire Pressure
The effect of underinflated tires on fuel economy is not just a theory; it's a measurable fact. The U.S. Department of Energy reports that you can improve your gas mileage by up to 3% in some cases just by keeping your tires inflated to the proper pressure. For every 1 pound per square inch (PSI) that all four tires are underinflated, you can lose about 0.2% of your fuel efficiency.
This might not sound like a lot at first, but it adds up quickly. Let's say your tires are just 5 PSI low, which is a common scenario. You could be losing 1% of your fuel economy. A vehicle that normally gets 30 miles per gallon (MPG) would now get 29.7 MPG. Over the course of a 15,000-mile year, that small difference can cost you extra money at the pump.
Beyond fuel savings, proper tire pressure is also a critical safety issue. Underinflated tires are more likely to overheat, which can lead to a dangerous blowout. They also negatively affect your car's handling, braking, and stability. By taking a few minutes to check your tires, you’re not only saving money but also making your car safer for you and your passengers. We've got you covered with everything you need to know to get this done.
Your Guide to Perfect Tire Pressure
Checking and adjusting your tire pressure is a skill every driver should have. It's fast, easy, and requires only one inexpensive tool. You can do this, and we'll show you how.
What You'll Need:
- A Quality Tire Pressure Gauge: Don't rely on the gauges attached to air hoses at gas stations, as they are often inaccurate. A good digital or pencil-style gauge costs very little and is an essential tool for any car owner.
- An Air Compressor: You can use the air compressor at a local gas station (it usually costs a small fee) or purchase a portable one to keep in your car for ultimate convenience.
Finding Your Car’s Correct Tire Pressure
Before you start, you need to know the correct PSI for your tires. This is one of the most misunderstood parts of tire maintenance. The correct pressure is NOT the number printed on the side of your tire. That number is the maximum pressure the tire can safely hold, not the recommended operating pressure.
The correct tire pressure for your vehicle is specified by the car manufacturer. You can find this information in two places:
- The Tire Information Placard: This is a sticker located inside the driver's side doorjamb. Open your driver's door, and you'll see it on the frame of the car. It lists the recommended "cold" tire pressure for both the front and rear tires.
- Your Owner’s Manual: Your vehicle’s manual will also have a section on tires and wheels that lists the correct PSI.
The recommended pressure is for "cold" tires, which means checking them before you've driven the car or after it has been parked for at least three hours. Driving heats up the tires, which increases the air pressure inside and can give you an inaccurate reading.
Step-by-Step Instructions:
Checking your tires is a quick process that should take you less than five minutes. Here’s how to do it.
Step 1: Check the Pressure When Cold
Make sure your car has been parked for several hours. Unscrew the valve cap from one of your tires and place it somewhere safe, like your pocket, so you don't lose it.
Step 2: Use Your Gauge
Press the tire pressure gauge firmly onto the valve stem. You will hear a short hiss of air. The gauge will then show you the current pressure reading. A digital gauge will display the number on a screen, while a pencil gauge will push out a small, numbered stick.
Step 3: Compare to the Recommendation
Compare the reading from your gauge to the recommended PSI on your doorjamb sticker. Is it too high, too low, or just right?
Step 4: Add or Release Air as Needed
- To add air: Use an air compressor to fill the tire in short bursts. Check the pressure with your gauge after each burst until you reach the correct PSI. It’s better to add a little at a time than to overinflate it.
- To release air: If you’ve added too much air, you can release it by pressing the small pin in the center of the valve stem with the back of your gauge or a small tool. Release air in short hisses and re-check the pressure until it's correct.
Step 5: Repeat for All Four Tires (and the Spare!)
Repeat this process for the other three tires. Don't forget to check your spare tire as well! You never want to find out your spare is flat when you need it most. The recommended pressure for the spare is often different (and higher) than the main tires, so check your placard or manual.
Step 6: Replace the Valve Caps
Once all your tires are at the correct pressure, screw the valve caps back on tightly. These caps help keep dirt and moisture out of the valve stem, which can cause leaks.
Make It a Habit for Lasting Savings
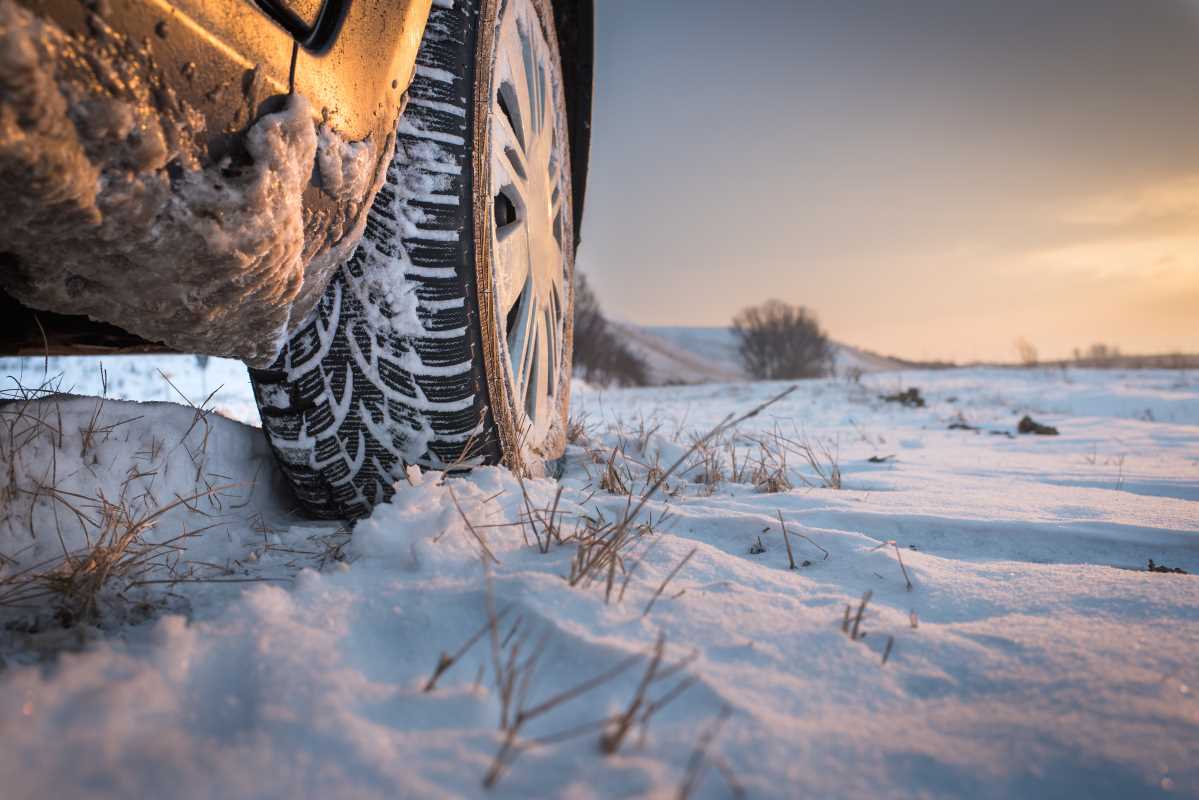
The key to reaping the benefits of this simple fix is consistency. Tire pressure can change with fluctuations in the ambient temperature. As a general rule, tires lose about 1 PSI for every 10-degree drop in temperature. This is why it’s especially important to check your tires as the seasons change from warm to cold.
We recommend making it a habit to check your tire pressure once a month. A great way to remember is to do it on the first weekend of every month. Set a reminder on your phone or mark it on your calendar. This simple, two-minute check-up is one of the best investments you can make in your car's health and your own wallet.