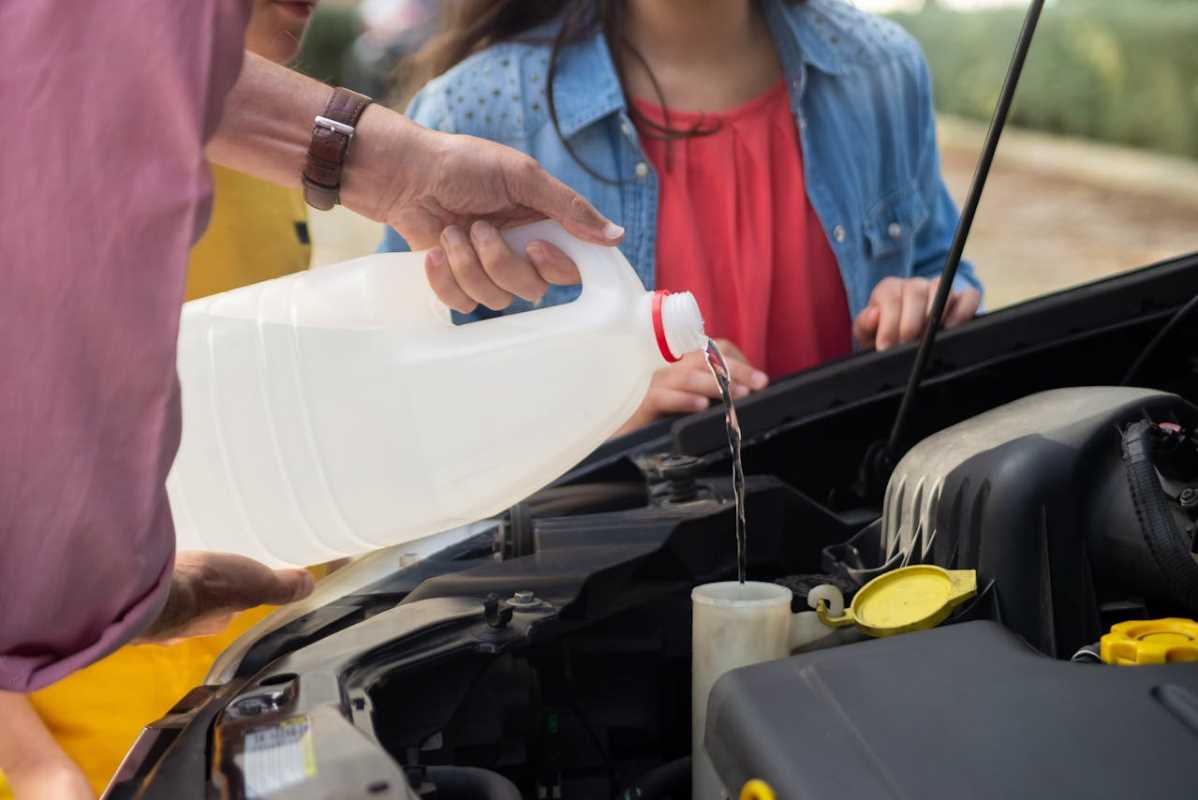
 (Image via
Taking control of your vehicle's maintenance can be an empowering experience, and it often starts with one of the most fundamental tasks: the oil change. This routine service is essential for your engine's health, ensuring all moving parts are lubricated and protected from heat and friction. Many drivers automatically head to a dealership or quick-lube shop without a second thought, but handling this job yourself is more achievable than you might think. Learning to perform a DIY oil change not only connects you more deeply with your vehicle but also presents a significant opportunity for financial savings. With a small investment in tools and a bit of confidence, you can add over $100 back into your budget each year.
Why Change Your Own Oil? The Benefits Go Beyond Savings
Performing a DIY oil change offers advantages that extend past the obvious financial perks. You gain control over the quality of products used, develop valuable skills, and gain a deeper understanding of how your vehicle operates.
Financial Savings: A Clear-Cut Advantage
The most immediate benefit of a DIY oil change is the cost savings. A typical oil change at a dealership or service center can range from $50 to over $100, depending on your vehicle and the type of oil used. Let's break down the numbers.
- Professional Service Cost: Assuming a conservative average of $65 per oil change and a schedule of three changes per year, you would spend approximately $195 annually.
- DIY Cost: The primary supplies for a DIY oil change—five quarts of quality synthetic oil and a new filter—cost around $30 to $40. Performing three changes a year would total about $90 to $120.
The math is simple. You could save between $75 and $105 annually right from the start. After your initial one-time purchase of reusable tools, your yearly savings will only increase, easily surpassing the $100 mark.
Quality Control and Peace of Mind
You get to choose the exact oil and filter for your car when you do the job yourself. Vehicle manufacturers recommend specific oil weights (like 5W-30) and types (conventional, synthetic blend, or full synthetic) for optimal performance. Handling the maintenance personally ensures your engine gets precisely what it needs, rather than a generic or lower-quality bulk oil that some shops might use to cut costs. This gives you complete peace of mind that the job was done right with the best materials.
Building Skills and Confidence
Learning to perform an oil change is a gateway to becoming more self-sufficient as a car owner. It demystifies what goes on under the hood and builds your confidence to tackle other simple maintenance tasks, like changing an air filter or replacing windshield wipers. This knowledge is empowering and can save you even more money on minor repairs down the road. You will feel a sense of accomplishment and a stronger connection to your vehicle.
Getting Started: Tools and Materials You'll Need
Before you can get under the hood, you need to gather the right equipment. Most of these are one-time purchases that will last for years, forming the foundation of your home auto-maintenance toolkit.
Essential Tools
- Wrench Set: You will need a socket wrench and a box-end wrench to remove the oil drain plug. The exact size depends on your vehicle, so check your owner's manual.
- Oil Filter Wrench: This tool helps you grip and unscrew the oil filter, which can be tight and difficult to remove by hand. They come in several styles, including cap-style, claw-style, and strap-style.
- Drain Pan: A dedicated pan to catch the old oil is a must. Look for one with a capacity of at least 10 quarts to avoid overflows.
- Funnel: A clean funnel prevents spills when you add the new oil to the engine.
- Car Ramps or Jack and Jack Stands: You need to lift the front of your car to safely access the drain plug and filter. Ramps are often the easiest and safest option for beginners. Never work under a car supported only by a jack.
Necessary Supplies
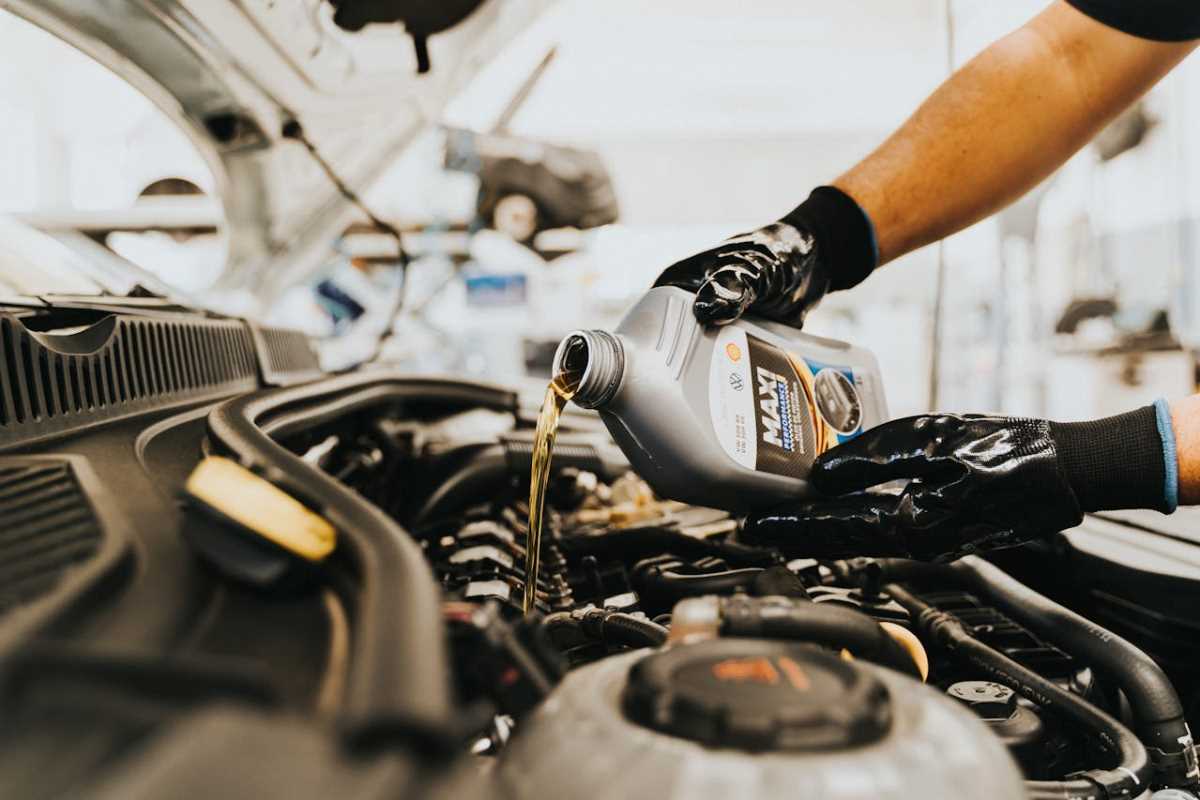
- Motor Oil: Consult your owner's manual to find the correct type (synthetic or conventional) and viscosity grade (e.g., 5W-20, 0W-40) for your engine. The manual will also specify the exact amount of oil needed.
- Oil Filter: Purchase a new oil filter that is compatible with your vehicle's make and model. It's often a good idea to buy a few at a time.
- Drain Plug Gasket: Some vehicles use a crush washer or gasket on the drain plug that should be replaced with each oil change to ensure a tight seal.
- Gloves and Rags: Disposable nitrile gloves will keep your hands clean, and old rags or paper towels are essential for wiping up spills.
A Step-by-Step Guide to Your First DIY Oil Change
With your tools and supplies ready, it’s time to get started. Set aside about an hour for your first time.
1. Prepare Your Vehicle
Start by running your car's engine for two to three minutes. This warms the oil, helping it flow out more easily. Do not let the engine get too hot, as the oil and engine components can cause burns. Park your car on a flat, level surface and engage the parking brake. Then, carefully drive the front wheels up onto the ramps or use a jack to lift the front of the car and secure it with jack stands.
2. Drain the Old Oil
Slide under the front of your vehicle and locate the oil pan. It’s a metal pan at the bottom of the engine with a single bolt, which is the drain plug. Place your drain pan underneath the plug. Use your wrench to loosen the plug by turning it counter-clockwise. Once it's loose, unscrew it the rest of the way by hand. Be prepared for the old, warm oil to start flowing out quickly.
3. Replace the Oil Filter
While the oil is draining, locate the oil filter. It’s a cylindrical canister, usually black, blue, or white. Position the drain pan underneath it, as some oil will spill out when you remove it. Use your oil filter wrench to loosen the filter by turning it counter-clockwise. Unscrew it by hand and carefully lower it down.
Before installing the new filter, dip a finger in some new oil and smear a thin layer onto the rubber gasket of the new filter. This helps create a better seal. Screw the new filter on by hand until it is snug, then give it an extra quarter-turn with the wrench. Do not overtighten it.
4. Replace the Drain Plug and Add New Oil
By now, the old oil should have slowed to a drip. Wipe the area around the drain plug clean and screw the plug back in (with a new gasket, if required). Tighten it with your wrench until it is secure, but avoid over-tightening, as this can strip the threads.
Lower your car off the ramps or jack stands. Open the hood and remove the oil filler cap. Using a funnel, pour in the correct amount of new oil, checking your owner's manual for the exact capacity. It's best to add slightly less than the full amount initially.
5. Check the Oil Level and Clean Up
Replace the oil cap and start the engine. Let it run for about a minute to circulate the new oil. Turn the engine off and wait a few minutes for the oil to settle. Check the oil level with the dipstick, adding a small amount of oil if needed to reach the "full" line.
Finally, pour the old oil from the drain pan into an empty, sealable container, like the one your new oil came in. Most auto parts stores and local recycling centers accept used motor oil for free.
Safety First: Important Precautions
- Always use jack stands. A jack alone is not a safe support for working under a vehicle.
- Wear protective gear. Safety glasses and gloves protect you from hot oil and dirt.
- Work on a level surface. This prevents the car from rolling and ensures the oil drains completely.
- Let the engine cool slightly. Hot oil and engine parts can cause serious burns.
- Properly dispose of old oil. Never pour used oil down the drain or on the ground.
By following these steps, you can confidently complete your own oil change. The satisfaction of doing it yourself, combined with the yearly savings, makes it a skill worth learning for any car owner. You are not just saving money; you are investing in your vehicle and your own capabilities.